
12 Handwriting Activities for Preschoolers + a Simple 5-Minute Routine
These handwriting activities for preschoolers focus on the step after basic pre-writing: learning how familiar letters are formed, copying a small amount successfully, and using early handwriting for names and simple real-life purposes.
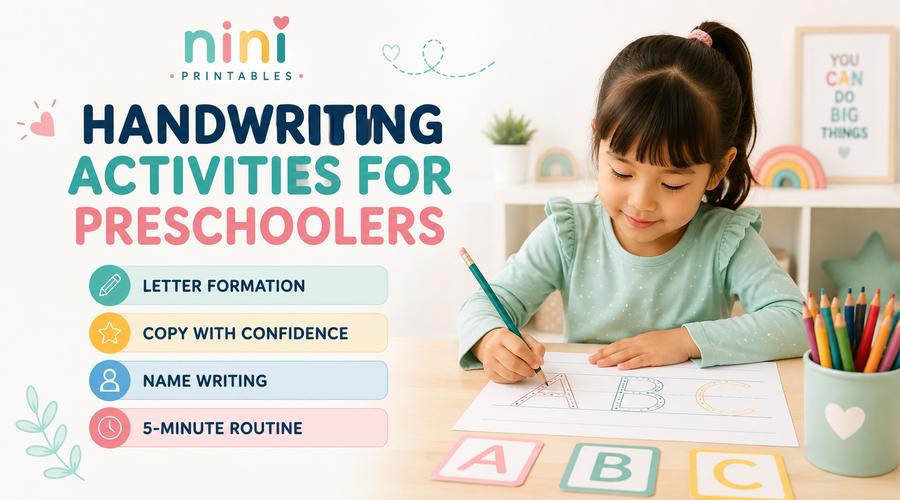
Parents and teachers searching for preschool handwriting practice often find two extremes: basic line-tracing activities or long alphabet worksheets. There is a useful middle step. A child who is beginning to control a writing tool can practise how letters are made without being asked to write the whole alphabet or complete a long page.
If the main challenge is still lines, curves, shapes, or general pencil control, start with pre-writing activities for preschoolers. For age-specific questions about what handwriting may look like at four, see the separate handwriting for 4-year-olds guide. Children who are already writing words and simple sentences can move toward writing activities for kindergarten.
Preschool Handwriting Practice vs. Pre-Writing: What Changes?
Pre-writing is mainly about controlling marks such as lines, curves, paths, and shapes before conventional letter formation becomes the focus. Handwriting practice begins to ask a more specific question: can the child intentionally form or copy a recognizable letter?
Head Start describes emergent writing as a process that develops across different levels, and its early-writing framework notes that children in the same preschool classroom may be at different points in that process. Therefore, a useful activity should match the child’s current writing behavior rather than a fixed worksheet sequence.
Choose a Handwriting Activity by What the Child Can Do Now
Instead of working from A to Z, choose the smallest next challenge. This keeps handwriting exercises for preschoolers short and easier to repeat.
| What you notice | Start here | Best activity numbers |
|---|---|---|
| The child can follow lines and shapes but letters still look confusing. | Notice how one familiar letter is built. | 1–3 |
| The child can trace a familiar letter but copying is difficult. | Keep the model close and reduce memory demands. | 4–6 |
| A few letters can be copied with a model. | Vary size and practise only a small set. | 7–9 |
| The child attempts name letters or asks how to write familiar words. | Connect letter formation to a meaningful purpose. | 10–12 |
These stages are planning cues, not a developmental test. For example, a child may use an activity from two different rows on the same day. The useful question is simply, “What amount of help makes this attempt successful?”
Not ready for letters yet?
Use larger paths, shapes, drawing, and pencil-control practice before asking for more letter formation. Once those movements feel easier, return to one familiar letter at a time.
6 Letter-Formation Handwriting Activities for Preschoolers
These first activities focus on how a letter is made. Choose a familiar letter from the child’s name or a letter the child already recognizes. That way, the handwriting task does not also become a letter-recognition lesson.
Use a Start-Dot Letter Card
Write one large letter and add a small dot where the first stroke begins. Model the movement once. Next, let the child finger-trace from the dot before trying the same letter with a crayon or marker.
Build the Letter, Then Point to Its Parts
Make one letter with playdough, craft sticks, or another safe material. Before writing it, ask the child to point to the long line, short line, curve, or other obvious part. Then compare the built version with the written model.
For more open-ended dough ideas, see preschool playdough activities.
Sort Familiar Letters by Their Movements
Choose three to six letters the child already knows. Put letters with mostly straight strokes in one small group, letters with obvious curves in another, and mixed letters in a third. Then copy just one letter from each group.
Finish a Partly Written Letter
Write most of a familiar letter but leave out one obvious stroke. Ask, “What is missing?” The child adds only that part. Afterward, place a complete model beside it and compare the two.
Trace → Cover → Copy
First, trace one large letter. Next, cover the traced example while leaving a clean model nearby. Finally, copy the letter once. This adds a small memory challenge without removing visual support completely.
Compare Two Attempts
Ask the child to copy one letter twice. Instead of choosing a “good” and “bad” letter, compare one feature: Where did each one start? Which has a longer line? Which looks more like the model?
NAEYC’s guidance on emergent writing emphasizes differentiating writing experiences for children who are at different stages. These activities follow that principle by changing the amount of support instead of requiring the same row of letters from every preschooler.
3 Activities for Copying, Size, and Handwriting Control
Once a child can form a few familiar letters with help, the next step is not necessarily more letters. It can be better to make the same small set slightly more controlled.
Copy With the Model Right Beside the Writing Space
Place a small letter card immediately beside the blank space. The child looks, writes, and checks without repeatedly searching across the page. Later, move the model a little farther away if copying becomes easier.
Write the Same Letter in Three Sizes
Draw three simple boxes: large, medium, and small. Write one familiar letter in each size. The goal is not perfect sizing. Instead, the child notices that the same letter keeps its basic form even when the writing space changes.
Roll and Write a Familiar Letter
Put up to six familiar letters on a homemade die chart numbered 1–6. Roll a die, find the matching letter, and copy it once. Stop after a few turns. The game adds choice and repetition without creating a full handwriting row.
3 Name and Meaningful Handwriting Activities
NAEYC encourages adults to give young children real reasons to write at home and in early-learning settings. Therefore, the final activities connect letter formation with a purpose while staying shorter than the age-specific activities covered in the site’s 4-year-old handwriting guide.
Rebuild the Name, Then Copy One Part
Write each name letter on a separate card. Help the child place the cards in order. Then copy only the first letter, the first two letters, or another manageable part of the name. Rebuilding reduces the spelling and sequence demand before handwriting begins.
Choose One “Useful Letter” for Today
Pick one letter the child can use immediately: the first letter of a name, a classroom label, or a familiar object. Practise that letter once or twice, then use it on the real item or drawing.
Make a Tiny Label With Adult Support
After drawing or building something, choose one short label. An adult can write the word as a model, while the child copies only the part that feels manageable. A single letter still counts as participation in the writing task.
This is where pre-K handwriting activities can become more than letter drills. A child sees that the same letter-forming skill can help identify a name, label a picture, or add information to something they made.
A 5-Minute Routine for Preschool Handwriting Practice
This routine works best when the child is already ready to work with a recognizable letter. If that feels too difficult, return to larger pre-writing movements first.
Five minutes is a planning example, not a required minimum. If one careful copy is enough, stop there. If the child wants to continue, the same letter can be used in another meaningful task rather than adding a long row of repetitions.
Use a printable as the warm-up—not the whole lesson
Nini’s current free packs mainly support tracing and pre-writing control. They work best here as a short warm-up before a child moves to one familiar letter or name-writing task.
How to Use Preschool Handwriting Worksheets Without Overdoing Them
A worksheet can be helpful when it gives the child a clear model, enough writing space, and a small amount to do. However, it does not need to become the entire handwriting lesson.
A practical sequence is: look at one letter → practise its form → copy a small amount → use it for a purpose. In contrast, repeatedly tracing every letter on a page may increase the amount of work without solving the specific part the child finds difficult.
Optional Supplies for Preschool Handwriting Activities
Most practice can begin with plain paper and a crayon or marker. A few reusable supplies may make activities easier to rotate, especially in a classroom or homeschool setting.
Useful options
- Washable markers
- Short or easy-to-control crayons
- Child-friendly pencils
- Small dry-erase board
- Reusable dry-erase sleeves
- Playdough or modeling dough
- Craft sticks for letter building
- Index cards for letter models
Free Nini Printables That Support Early Handwriting
The current Nini resources below are best described as pre-writing and tracing support. They can help a child warm up hand control before the letter-formation activities in this guide; they are not presented as complete handwriting workbooks.
Dinosaur Pre-Writing Pack
A free 16-page pack with straight, slanting, wavy, zigzag, curved, circular, spiral, and shape-based paths.
View the Dinosaur Printable →Vehicles Pre-Writing Paths
A free 16-page vehicle-themed pack with roads and routes that support short tracing and pencil-control practice.
View Vehicle Paths →Preschool Shapes Tracing
A free 16-page shapes pack for children who still benefit from controlled curves, corners, and direction changes before smaller letter work.
View Shapes Tracing →Frequently Asked Questions About Handwriting Activities for Preschoolers
What is the difference between pre-writing and handwriting?
Pre-writing focuses on the movements and control used before conventional letter formation, such as lines, curves, shapes, drawing, and paths. Handwriting practice becomes more specific: the child is intentionally tracing, forming, or copying recognizable letters. A child may use both kinds of practice during the same week.
Which letters should a preschooler practice first?
There is no need to force an A-to-Z sequence in this activity guide. Familiar letters—especially letters the child recognizes from their own name or environment—can give the practice an immediate purpose. If letter recognition itself is the main challenge, use these letter recognition activities for preschoolers before adding more handwriting demands.
Is tracing enough for preschool handwriting practice?
Tracing can introduce or rehearse a movement, but copying and meaningful use add different challenges. A simple progression is trace once, copy once with a model, and then use the letter in a name or label. The child does not need to complete all three steps every time.
How many letters should a preschooler practice in one session?
Keep the set small enough that the child can pay attention to how each letter is made. One to three familiar letters can be plenty for a short session. Quality and understanding matter more than filling a page.
What if copying a letter is still too difficult?
Move the model closer, make the letter larger, add a start dot, trace it first, or ask the child to finish only one missing stroke. If basic line and shape control is still difficult, return to pre-writing practice for a while.
Are preschool handwriting worksheets necessary?
No. They are one convenient tool, not a requirement. Letter cards, plain paper, reusable boards, name cards, and short real-life writing tasks can all support handwriting practice. If you do use a worksheet, choose a small section that matches the child’s current skill.
Keep Handwriting Practice Focused on One Useful Next Step
The best handwriting activities for preschoolers do not ask a child to solve every writing skill at once. Choose one familiar letter, make its starting point clear, give enough visual support, and stop after a few successful attempts.
Then connect that letter to something the child cares about. As control grows, practice can naturally progress from pre-writing movements → familiar letter formation → names and labels → words and simple sentences.
Choose the next practice level
Browse the free printable library for tracing and pre-writing support, or continue to more advanced writing ideas when letters are becoming easier.